InGridApp/How to Apply Effects in InGrid App
How to Apply Effects
Introduction
In this tutorial, we will explore how to add effects. Effects add an interesting look to your creations.
Applying Effects
Introduction
Adding effects allows you choose an effect that alters your image in artistic ways.
Steps
- In the Incredible InGrid App, from the botton left panel, press the camera roll icon.

- Select a picture from the camera roll. You can apply a whole lot of effects to the picture.
- Press the effects icon
 , the effects menu is displayed on top of it. You can scroll horizontally.
 - Try Cartoon, Dali, Fat, Oil painting etc. Try applying combinations of effects, by selecting multiple effects for the same picture.
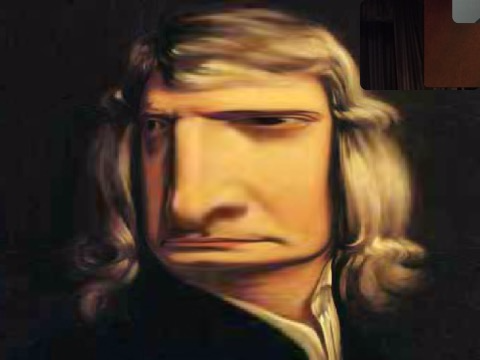
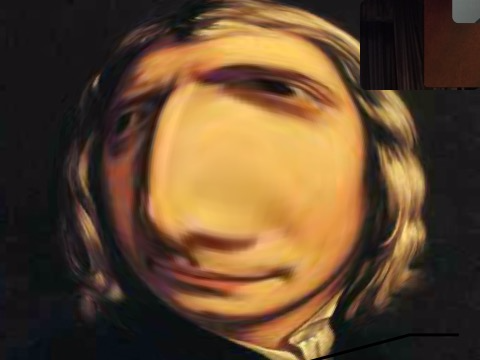
You can save  the result picture to the device and edit in InGrid later. You can go to the original image by scrolling to the beginning and pressing the original image. You can try combinations of the effects to create interesting images. Please see few examples below.
Effect : Dali
Effect : Fat
You can write or type text over the pictures and videos. And later edit the text if you need to.
Video
The following video demostrates how effects are applied to an image.

