InGridApp/How to Use Partitions
Revision as of 16:22, 25 May 2016 by Njackson100 (talk | contribs) (Added tutorial steps and sections.)
How to use Partitions
Introduction
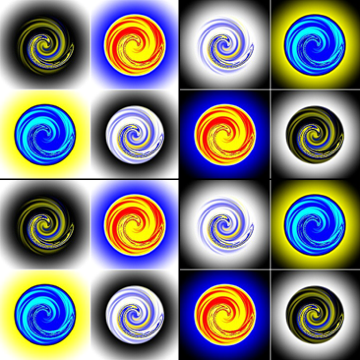
In this tutorial, let us examine how to use partitions to create photo presentations using the Incredible Ingrid App. Partitions are a great feature, in which an image can be partitioned into different pieces, into which background can be masked into; with effects applied to each element in a different way.
Partitions
Steps
- Start a new page. Select the black background.
 .
. - Click the partition icon.
 In this example we choose the rectangle option.
 - Drag and drop images from camera roll
 .
. - You can apply effects to these pictures to make it a great looking collage.
Let us look at another option in partitions.
- Start a new page.
- Click partition icon
 .
. - Select circular option
 . It can be any of the available shapes.
 - Click the mask icon
 to mask the background to the partitions.
 - Select photos from device. Drag and drop into the partitions.
You can further use effects ![]() to modify the appearance of the photos.
to modify the appearance of the photos.
Video
