Difference between revisions of "InGridApp/Work with Random Effects"
Njackson100 (talk | contribs) |
Njackson100 (talk | contribs) |
||
| (2 intermediate revisions by the same user not shown) | |||
| Line 28: | Line 28: | ||
=Selecting Effects= | =Selecting Effects= | ||
| − | #Start by finding and tapping on the effect titled Vignette. | + | #Start by finding and tapping on the effect titled Vignette. |
| − | Select the go back button located on the upper right of the screen or located on the bottom of the screen under the AZ button. | + | #Use the slide bar to to make the effect more or less intense depending on the direction you slide.<br/> |
| + | #Select the go back button located on the upper right of the screen or located on the bottom of the screen under the AZ button. This button appears when an effect applied. It will all you to go back one effect only.<br/> | ||
<br/> | <br/> | ||
[[File:effects_example_vignette.png|300px|thumb|left|Effect: Vignette]]<br/> | [[File:effects_example_vignette.png|300px|thumb|left|Effect: Vignette]]<br/> | ||
Latest revision as of 08:39, 2 June 2016
Introduction
In this tutorial, we will explore the effects icon in the Incredible InGrid App. Effects add creative and interesting touches to your photos and videos. By the end of this tutorial, you will know how to apply these effects to your projects.
Steps
- Start with a blank background by selecting the skins icon.
- Next Select the camera roll icon.
 Scroll and find a photo you like. Press and hold your finger on the photo to make it your background.
 - Click on the effects icon.
 Here you will find a list of effects. Scroll right to see all the effects.
 - On the upper left is the AZ icon. Pressing this button organizes the effects in alphabetical order.
Let us observe some of the effects.
Selecting Effects
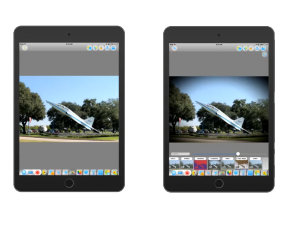
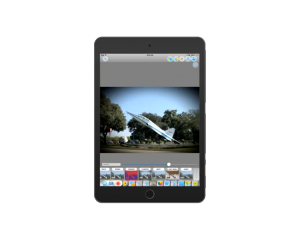
- Start by finding and tapping on the effect titled Vignette.
- Use the slide bar to to make the effect more or less intense depending on the direction you slide.
- Select the go back button located on the upper right of the screen or located on the bottom of the screen under the AZ button. This button appears when an effect applied. It will all you to go back one effect only.
Let's try another effect.
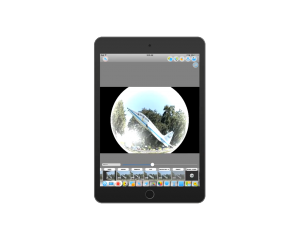
Select Emboss. Notice the change in the photo. Again, the slider indicates the intensity.
Multiple Effects
In this section we will apply two effects at the once. You can add as many effects as you want. Experiment with various effects to achieve a creative piece.
- Clear the background using the clear icon.

- Select an image from the camera roll and drag it to the wallpaper.

- Select the Effects icon.

- Select Emboss.
- Next select Deep. Adjust the controls to achieve the desired effect.
At anytime you do want to the original media, you can locate and select "Original" by scrolling to the beginning of the effects panel. This will revert all changes in the photo back.
All changes will disappear and you cannot go back once you have select this option.
The effects can be applied to live video as well.
Video
This video demonstrates how certain effects work with a photograph.
include video
<< Back to Tutorials


