Difference between revisions of "InGridApp/tutorial"
Jump to navigation
Jump to search
| Line 10: | Line 10: | ||
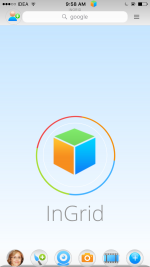
[[Image:AppStart.PNG|150px]] | [[Image:AppStart.PNG|150px]] | ||
| + | |||
| + | |||
| + | Ingrid App differs from conventional photo apps in the sense that it is a seamless experience, whether you are taking an image or a movie or a drawing. | ||
| + | |||
[[Image:Photo_Paint_Ingrid_App.png|150px]] | [[Image:Photo_Paint_Ingrid_App.png|150px]] | ||
| − | + | ||
| + | Objects can be inserted into the photo or movie, and effects can be applied at any level of the drawing canvas. Pictures can contain pictures, movies, etc. inside them, in a truly recursive fashion. | ||
==List of examples and help videos== | ==List of examples and help videos== | ||
Revision as of 22:56, 18 January 2016
(c) Copyright 1996-2015, ZCubes, Inc.
Tutorial
Videos below demonstrate often used techniques by users to create fantastic artifacts.
Ingrid App differs from conventional photo apps in the sense that it is a seamless experience, whether you are taking an image or a movie or a drawing.
Objects can be inserted into the photo or movie, and effects can be applied at any level of the drawing canvas. Pictures can contain pictures, movies, etc. inside them, in a truly recursive fashion.
List of examples and help videos
- Create Photo Display Wall
- Write on Photos and Movies
- Share your Cubees to friends
- Invite your phone contacts to InGrid
- How to use Masking
- Do Live Recording
- Record Videos with effects
- How to Use Partitions
- Explore Partitions and Effects
- Work with Random Effects
- Deep Effect
- Create Animations using InGrid App
- Create Text Quotes using InGrid App
- Create Drawings and Cartoons Using InGrid App
- Scenery using Fill Effect
<< App home


